Menu
Download our mobile app
today for exclusive savings and rewards!
today for exclusive savings and rewards!
Get Prepared for Easter with Fresh Farms | Now Available Baby Lambs
(Please Ask Our Meat Department For Assistance. Available at all stores except for Devon Ave)

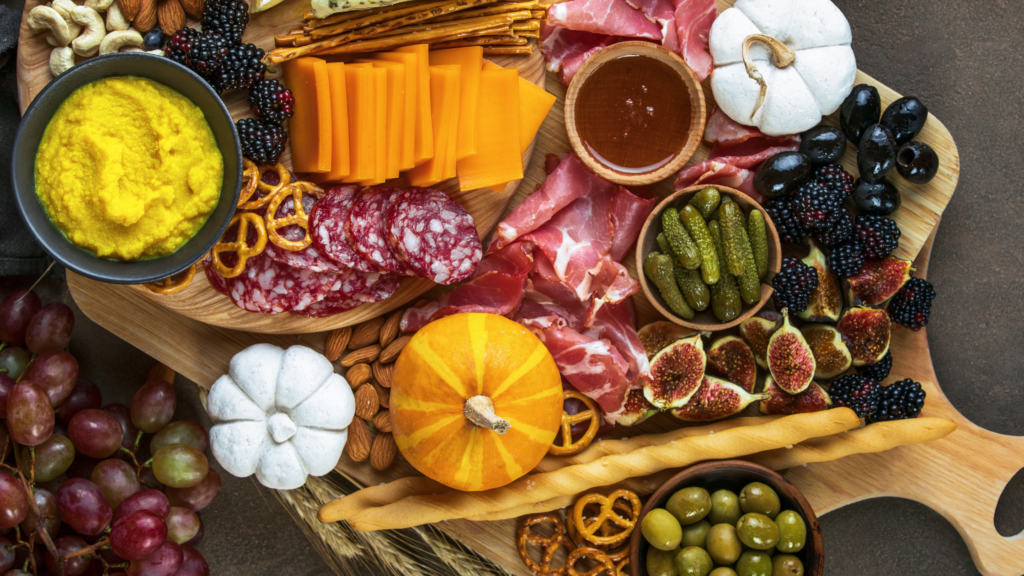
You might have come across a charcuterie board in lots of places. But aside from being a great statement piece on the food aisle, it adds a fun and fancy twist to finger food.
Simply put, it’s an assortment of meat cuts, from smoked to cured, paired with complementary cuts of cheese, fruits, veggies, and a side of condiments. So, how exactly should you build it?
Here’s a guide to making a charcuterie board for beginners.
Generally, you only need a few things to make a charcuterie board. Even so, how you build it varies on your preference and creativity.
Let’s start with breaking down the basics.
The foundation of your charcuterie board is your platter. Not only does it put together the entire vibe, but it also determines how much you can serve. So, you want to pick a board or platter in the right size, shape, and material.
You can go for a wooden one if you’re aiming for a cozy and simple aesthetic, or a silver tray for a more elevated and sophisticated look. If you’re adding dips or small toppings, you can also add little dishes to the mix.
Keep in mind that the meat is usually the highlight of your charcuterie board. So, you want to invest in picking unique and fresh meat options, from simple ham to smoked sausages. You can also add spreadable ones if you want more texture.
Most people recommend having at least three different types of cheese, including hard and soft options. You want to get cheeses with contrasting flavors and textures to give your guests broader tastes.
If you want to use the cheese for later, consider going for hard cheese since it contains less moisture, allowing it to last longer in the fridge.
Take a good look at your ingredients and dishes and try to figure out the overall ambiance. You can also consider this based on your event’s theme.
One tip is to cluster the same ingredients together to keep it cohesive or spread it across the board to give it more personality.
Start with the meat and cheese to ensure it spreads evenly on the board. It helps to consider their sizes and shapes for a more organized appearance.
Try to arrange it in a way that keeps them as the center of attention. After all, they are the stars of your platter!
Eat well.
Save time.
Live better.